Configuration guide ControlByWeb® WebRelay® PoE (X-WR-1R12-1I-E)
This configuration guide describes how to switch a ControlByWeb® WebRelay® PoE with a Behnke Station. We assume that the Behnke Station and the relay have already been integrated into the network and are accessible via their IP addresses in a browser. We also assume that the Behnke Station is already registered with a PBX and can make calls.
1. Setting up the web relay
-
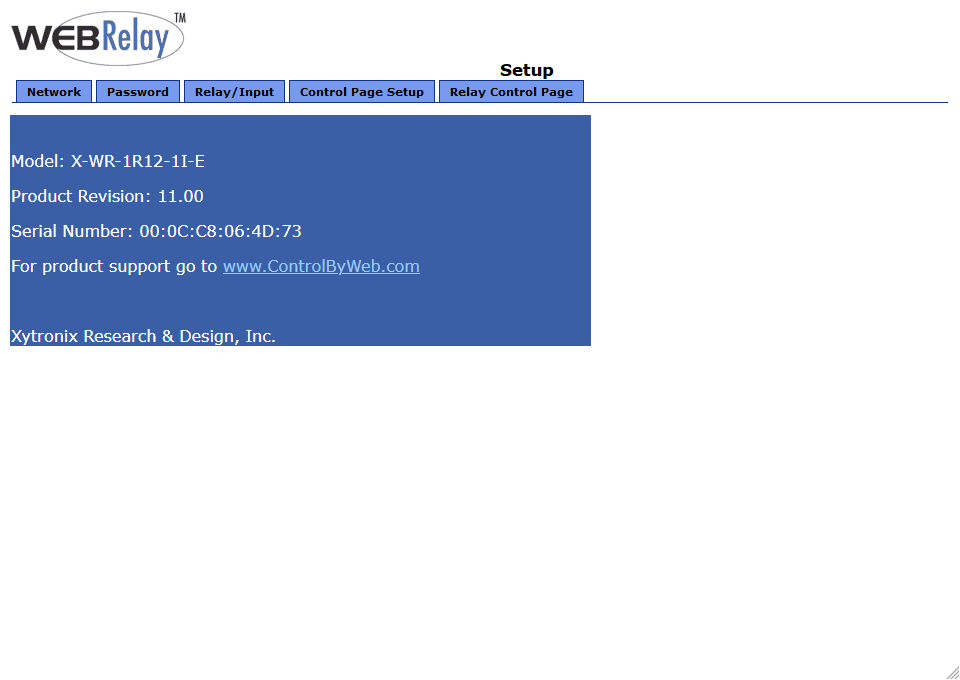
Start your browser, go to the relay's configuration interface and log in.
-
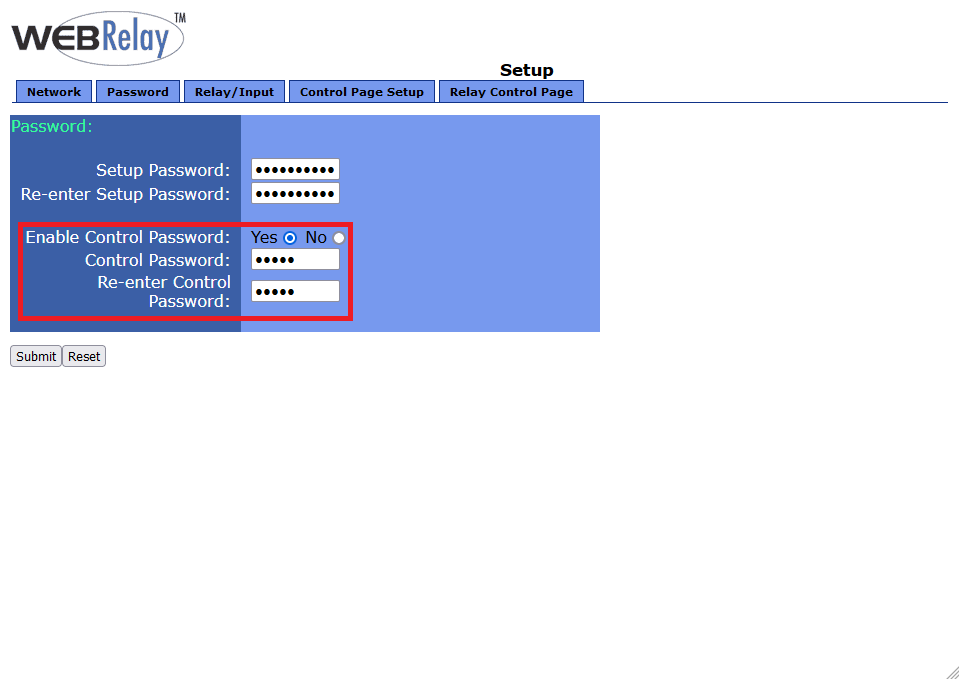
Switch to the "Password" tab at the top. There, set "Enable Control Password" to "Yes", and below that set a password to enable the relay. Then click "Submit" below.
-
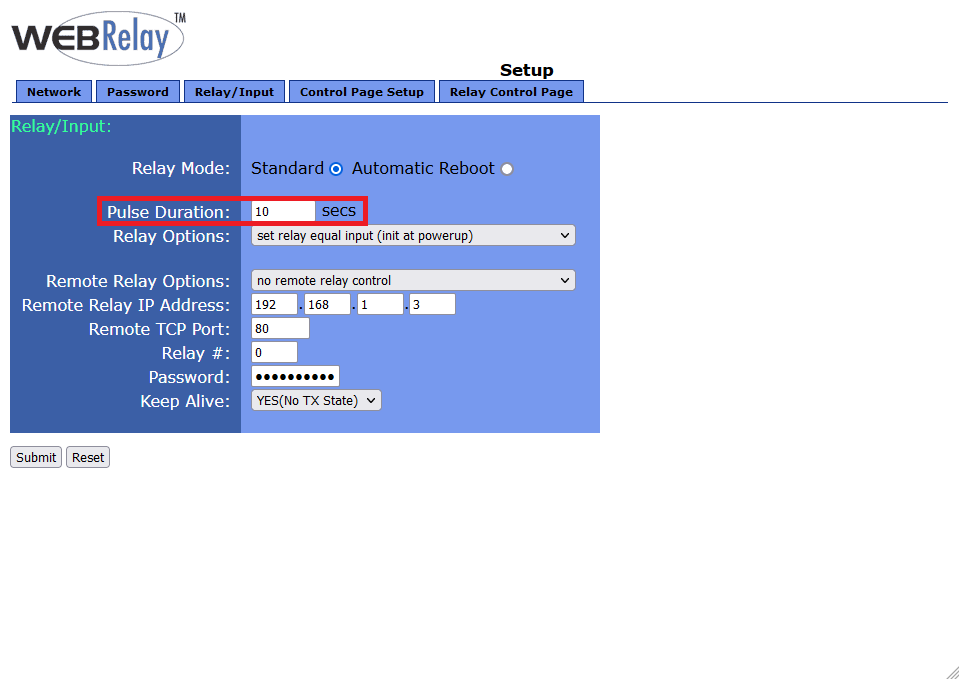
Switch to the "Relay/Input" tab and set the "Pulse Duration". This determines the duration for which the relay is activated when you send the command. Then click "Submit".


2. Configuring the Behnke Station
-
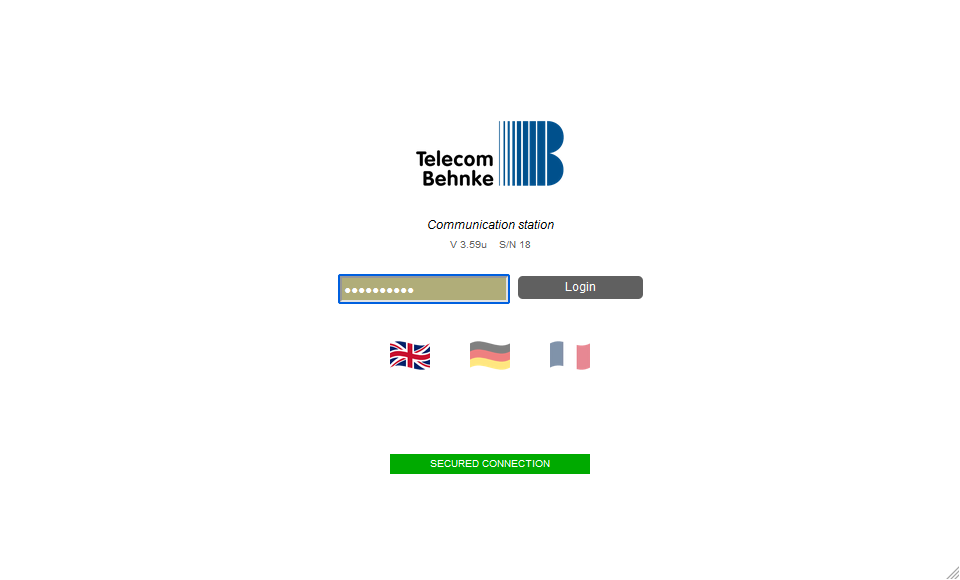
Open a new tab in your browser, go to the Behnke Station's interface and log in.
-
Click on "Relay" in the menu on the left. Scroll down to the relay that you configured as a door opener relay. Here you can enter the command for activating the web relay in the field "Webhook for activation". Then click "Save" at the bottom left. The command to activate the relay is:
http://admin:<Control Password>@<IP-Address of your web relay>/state.xml?relayState=2Example:
http://admin:1234@192.168.0.47/state.xml?relayState=2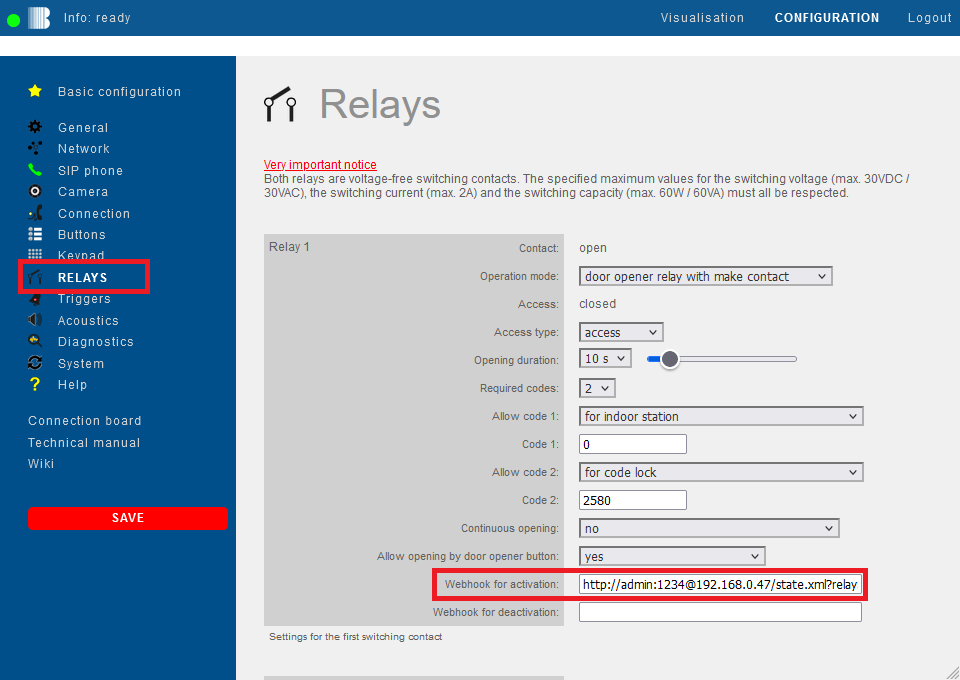


Configuration is now complete. If you trigger a call at the Behnke Station and transmit the code for activating the relay via DTMF on the callee's phone, the Behnke Station will activate its own relay and at the same time transmit the command to activate the web relay. The web relay is then activated for the configured duration.