Configuration guide Vodia® HostedPBX
1. Configuration guide
This configuration guide describes how to set up a Behnke Station as a SIP extension of a Vodia® HostedPBX. We are assuming that the basic configuration of the Vodia® system has already been done, and we will only describe the steps required to register the Behnke Station with Vodia®. We also assume that the Behnke station has already been integrated into the network and can be accessed via the IP address in a browser.
1.1. Configuring the extension for the Behnke Station
Please note that the configuration of the extension is only shown very briefly and the configuration may vary for your Vodia® installation. If in doubt, please contact your Vodia® support.
-
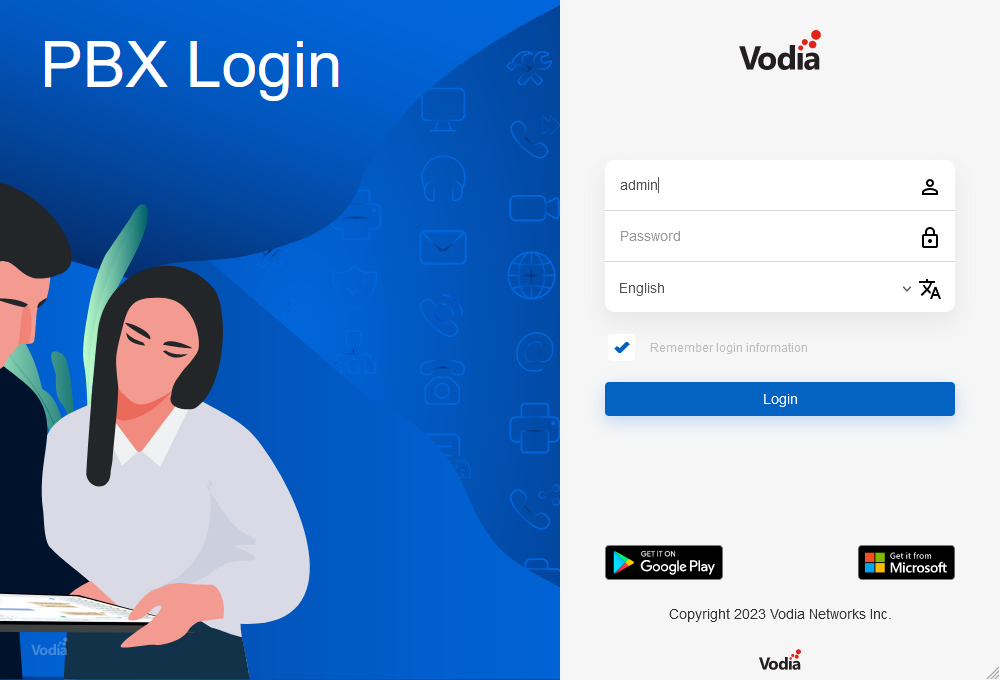
First, please start the Vodia® administration console in your browser and log in with your admin credentials.
-
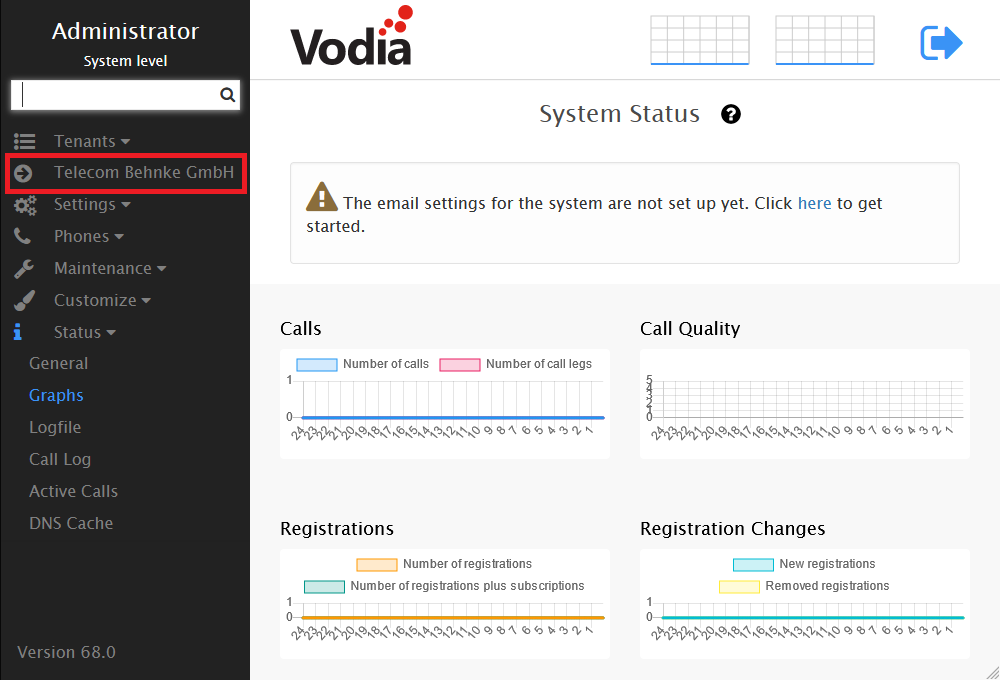
Click on the relevant "Client" in the menu on the left.
-
Click on "Extensions" in the menu on the left.

-
Click on the button
+ | Add.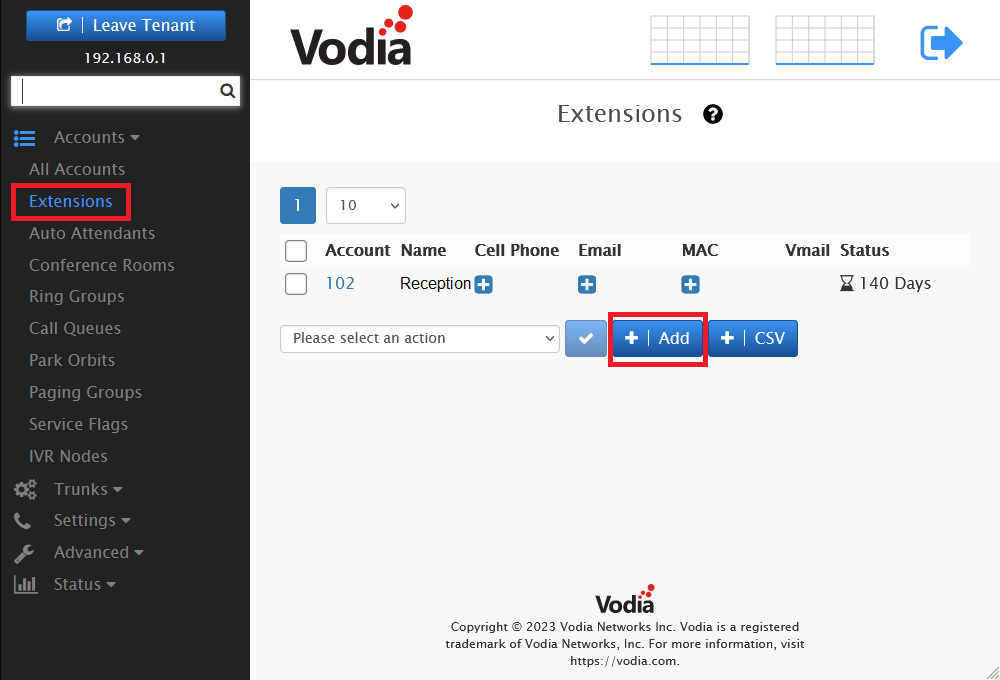
-
In the next window, specify the SIP login information for the Behnke Station. Fill out the fields "Phone number(s) for this account" and "First name" and "Last name" if needed. Then select "No" at "Automatically generate SIP password" below and set a password for the SIP registration yourself. The registration information assigned here (phone number and SIP password) are required in the next step for registering the Behnke Station. Then click
+ | createat the bottom.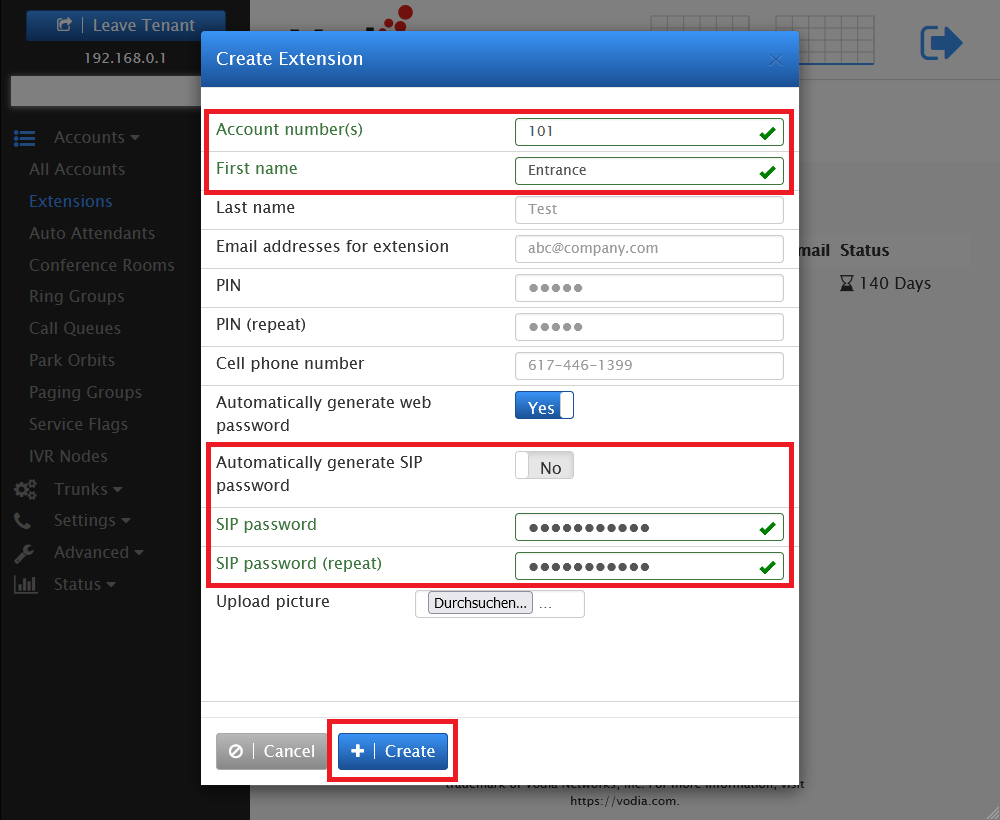


1.2. Configuring the Behnke Station
-
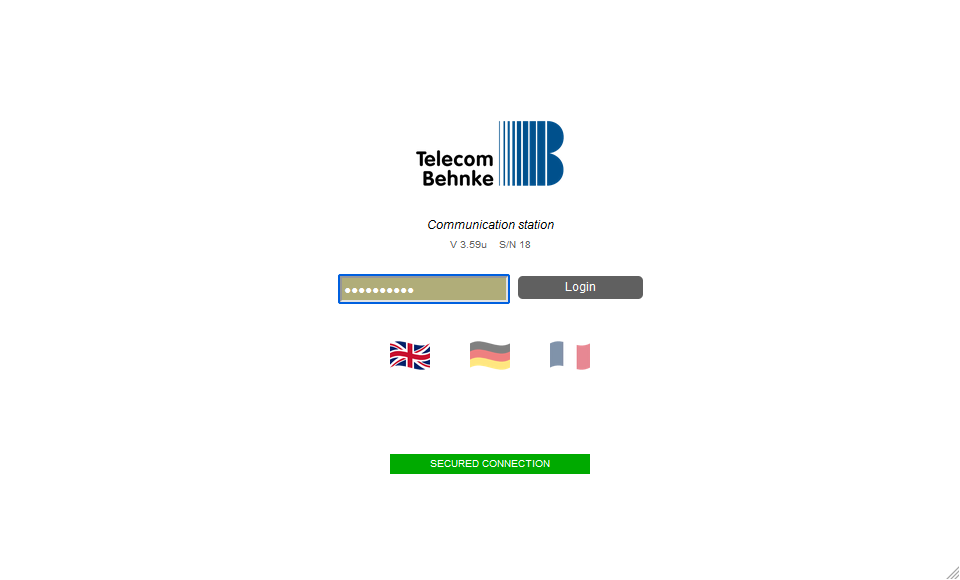
Open a new tab in your browser, enter the IP address of the Behnke Station in the address bar and log in.
-
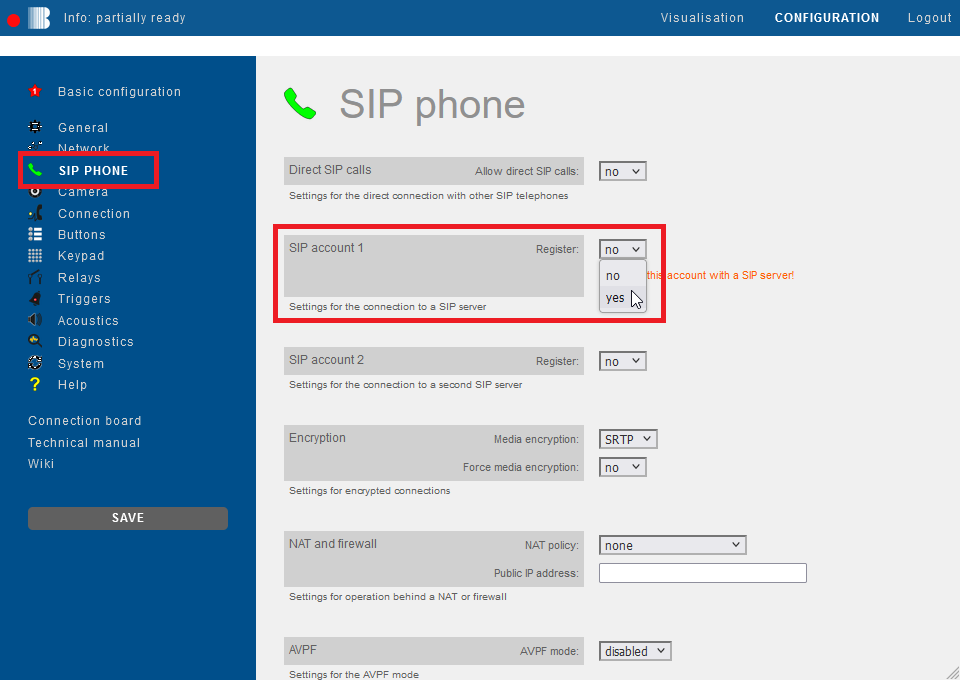
Click on "SIP Phone" in the menu. Scroll down to "SIP account 1" and select the option "yes" for "Register".
-
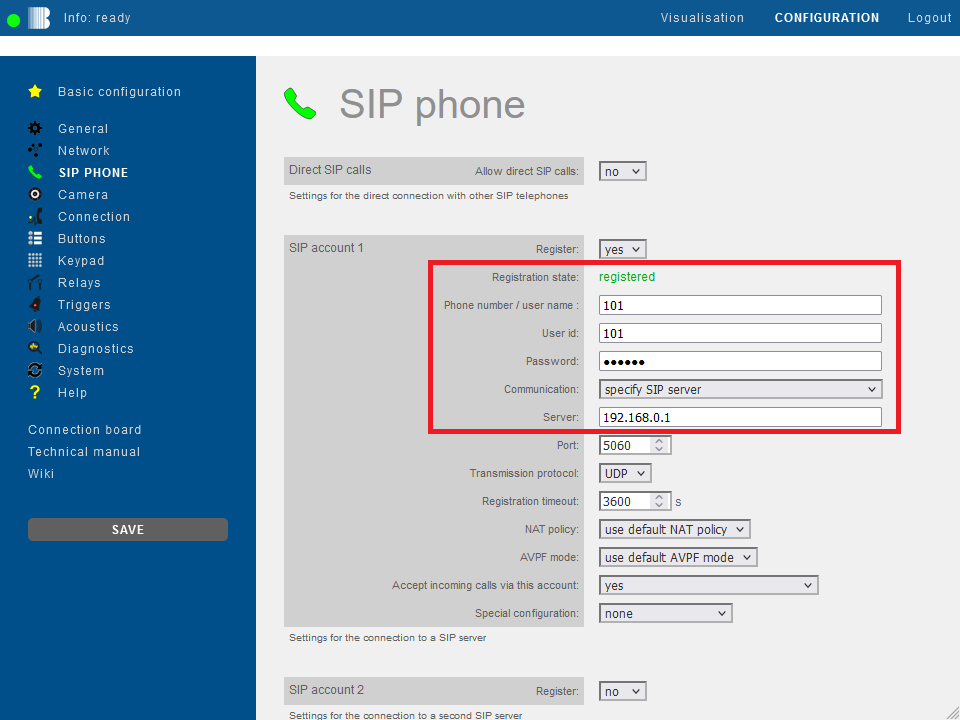
Then fill in the fields with your Vodia® SIP credentials as follows and click "Save" on the left.
Field Behnke Station Value Vodia® Phone number/user name extension User ID extension Password password Server IP address of the Vodia® PBX If the registration was successful, the "Registration state" changes to registered.
-
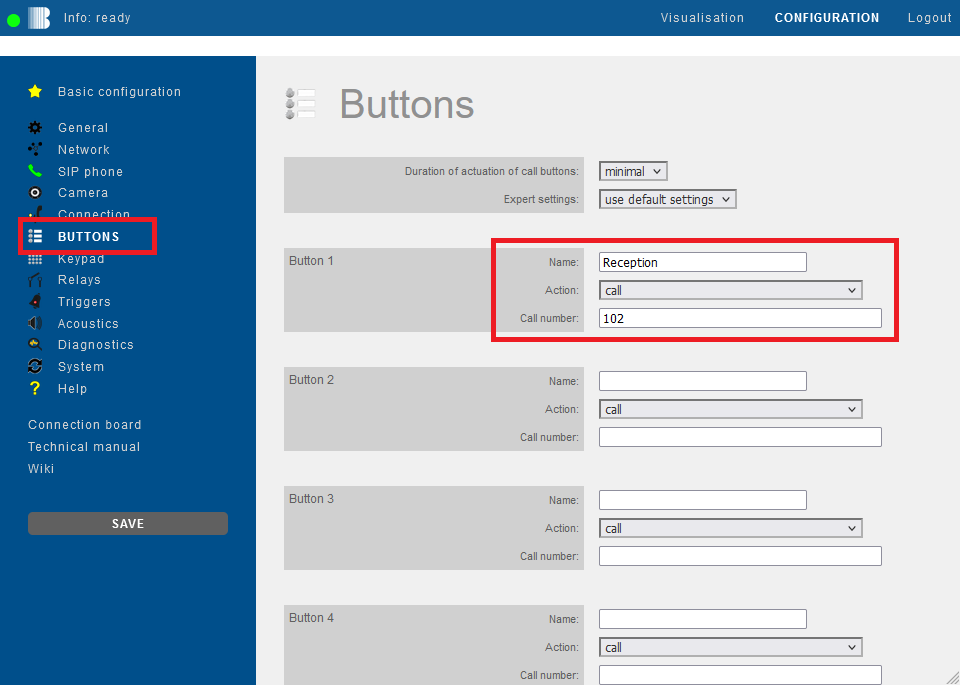
Then click "Buttons" in the menu on the left. For the desired call button enter the extension number or phone number that is to be called when the button is pressed. Then click "Save" on the left.