Usage
1. General
-
After starting the IP video software, the program is minimized and a blue Behnke logo


-
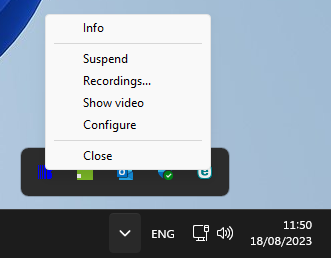
Right-clicking on the Behnke logo opens the menu.
-
The following options are then available in the menu:
-
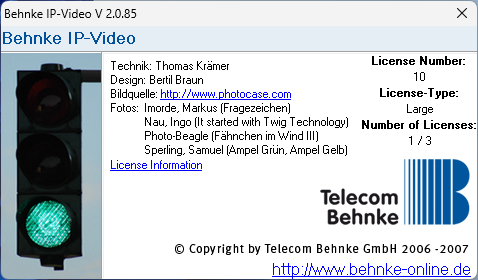
Info: Click to bring up the splash screen with the information about the software.
-
Suspend: 1 When you click on this menu item, the software continues to run, but no video is displayed when there is a call from the intercom. Clicking suspend again restores the default pop-up functionality.
-
Recordings...: This menu item takes you to the player for recorded videos.
-
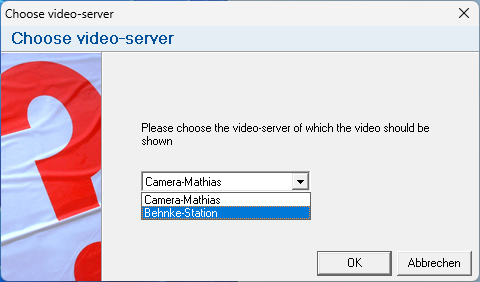
Show video: You can use this to manually call up the video of a configured IP camera without triggering a call on the intercom station. If you have configured several cameras in the software, a selection window with the configured cameras will appear first. If you have selected the desired camera here, the video will be displayed after clicking "OK". If you have configured a password for the video display, a password prompt will appear first.
-
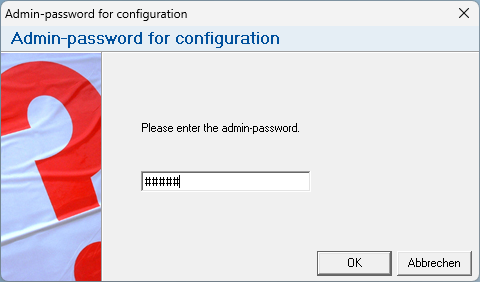
Configure: Opens the configuration window. Alternatively, you can also call this up by double-clicking on the Behnke tray icon. If you have previously configured an admin password in the software, a password prompt will appear first. Enter the password here and confirm with "OK".
-
Close: Quits the software. The video is no longer displayed when a call is triggered on the intercom.
-


2. Window "Video"
This window pops up when there is a call from the Behnke door station, or when you right-click on the Behnke tray icon and select "Show video" in the menu.


3. Window "Video-Multiplex" 1
Once the surveillance function has been activated in the configuration, the video multiplex window will be displayed. This window cannot be closed. It can merely be scaled down into the Windows® taskbar. If you want the window to be hidden again, uncheck "Enable video surveillance" in the IP video configuration on the "Video surveillance" tab.


4. Window "Recordings"1
The "Recordings" window can be accessed by right-clicking on the IP video software tray icon and selecting "Recordings...".

This list contains all cameras with existing recordings. The tree view can be expanded to find the recordings sorted by date for the individual cameras.
Thumbnails of the recordings made on the selected date are displayed here. These are sorted in ascending order of starting time.
The actual video player with export function is displayed in this area of the window.
With this button you can output the video as a file in an output format supported by Microsoft® Windows®. This file can then be passed on for further processing. Corresponding codecs may have to be purchased separately.
This button saves the currently displayed image in a file.
The selected recording is shown here.
These buttons can be used to play, pause and end the recording. The current position with the date, time and image in the file is displayed above the buttons. The start time of the current file is displayed on the left and the end time on the right.

These buttons allow you to set the playback speed.

The slider can be used to quickly jump to a specific point in the video.